Follow Me On Social Media!

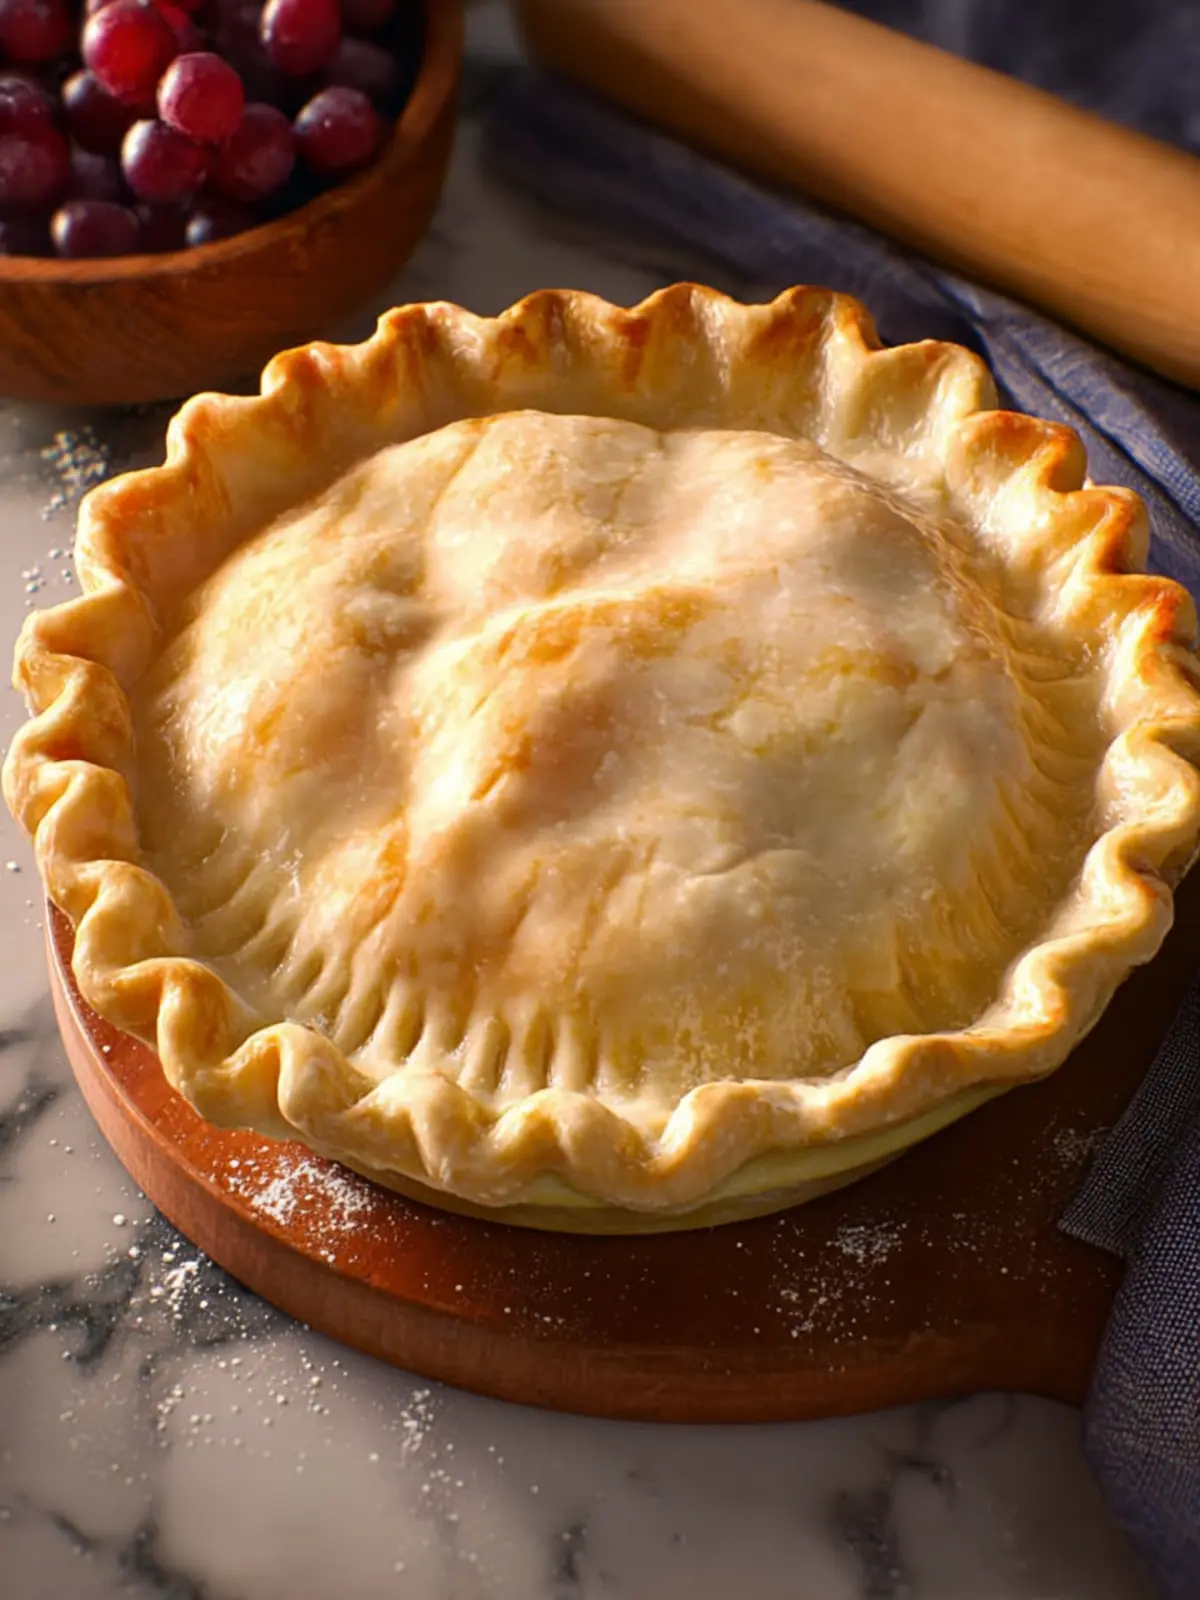
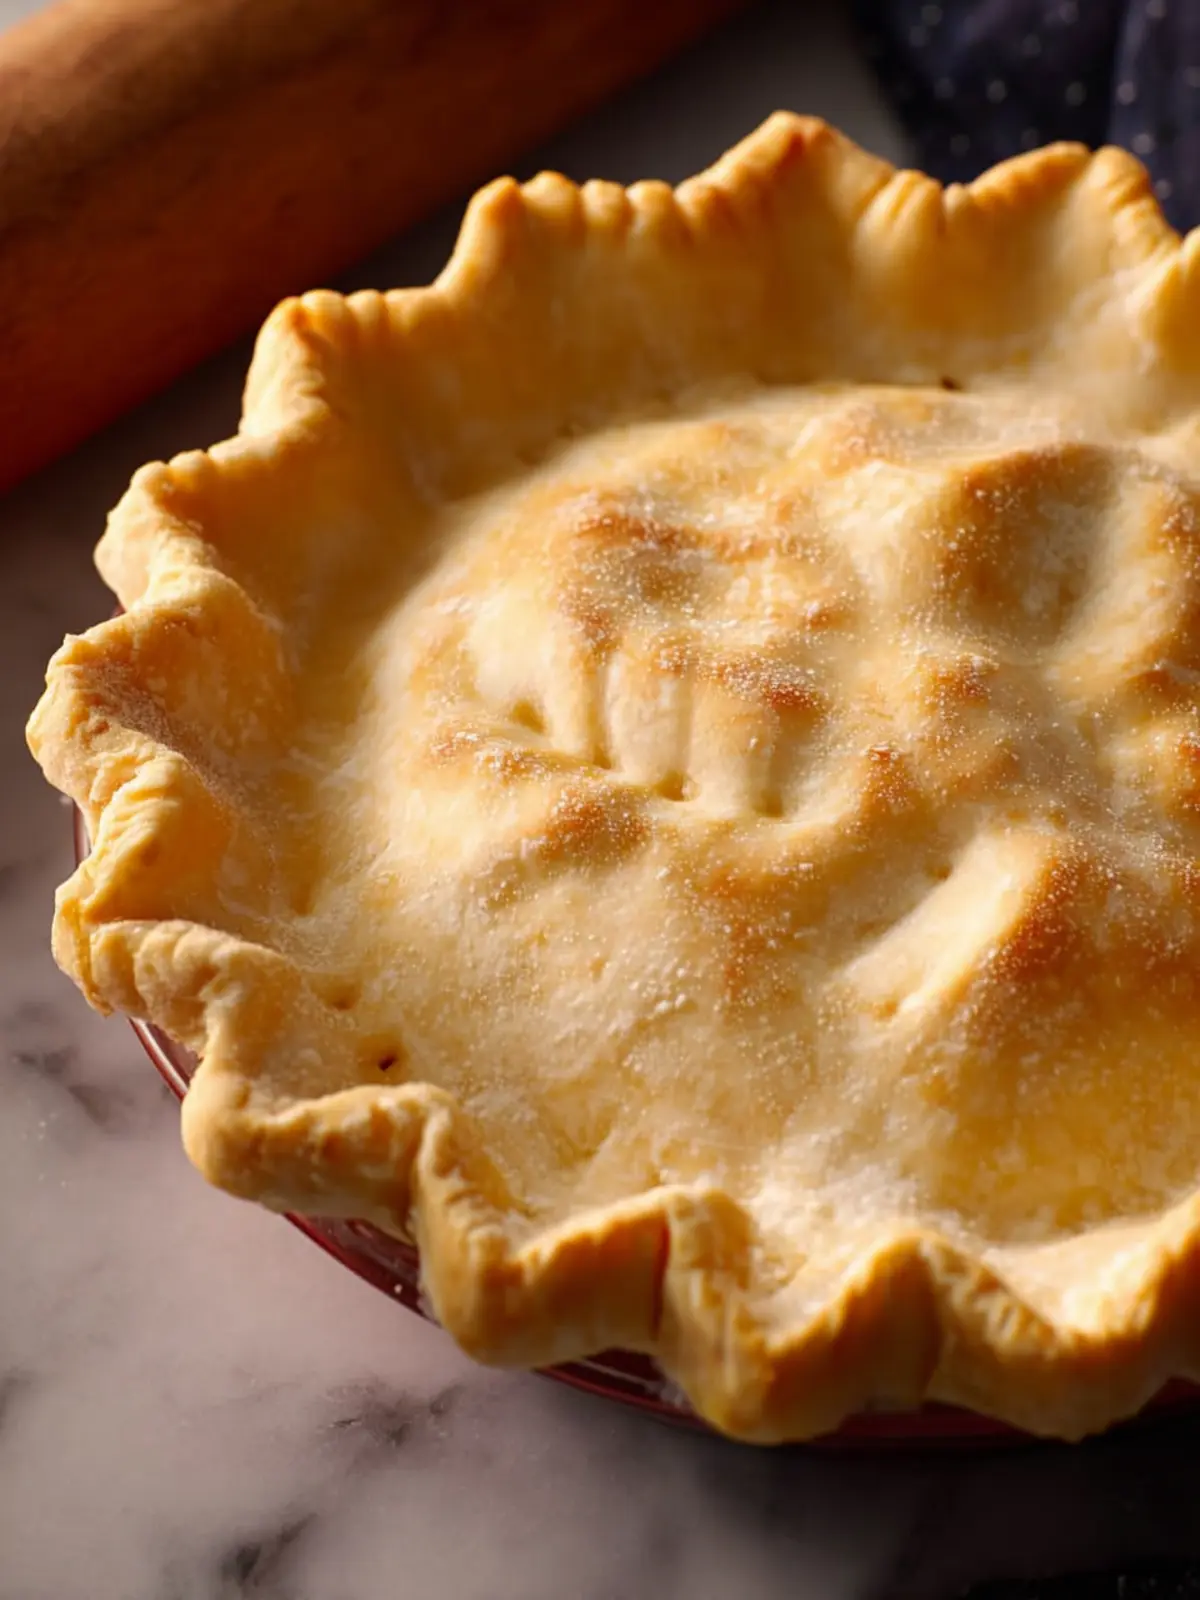
Flaky Gluten Free Pie Crust: The Best You’ll Ever Make
Introduction to Flaky Gluten Free Pie Crust
Creating a flaky gluten free pie crust is not just a culinary task; it’s an act of love that fills your kitchen with warmth and anticipation. There’s something truly exhilarating about the process—the rolling of the dough, the gentle crimping of the edges, and the delightful smell wafting from the oven as it bakes. Homemade pie brings back memories of family gatherings, holiday celebrations, and cozy evenings spent enjoying a slice of nostalgia.
Independent of dietary restrictions, everyone deserves a pie that makes them feel satisfied and happy. With this recipe, you can enjoy the rich, buttery texture of a homemade crust without worrying about gluten. If you’ve ever experienced the frustration of a dry or crumbly store-bought gluten-free crust, you’re not alone! Many have embarked on a quest to find that perfect flaky gluten free pie crust that doesn’t compromise on taste or texture. Trust me; it’s possible.
So, what makes this recipe special? The combination of quality ingredients, a little bit of patience, and some tried-and-true techniques poised to create that delightful flakiness. We’ll be using a blend of gluten-free flours that ensure your crust is both sturdy enough to hold your filling and tender to the bite. Plus, the added flavor from a hint of sea salt and the richness of cold butter elevate this crust from merely functional to exceptionally delicious.
Whether you’re planning to fill it with a luscious apple filling, a creamy pumpkin custard, or a bright berry medley, this crust will serve as the ideal foundation for your pie dreams. No longer do you have to settle for less than the best—get ready to impress guests (and yourself!) with a superior flaky gluten free pie crust that you made from scratch.
Grab your apron, gather your ingredients, and let’s get started on a journey to pie perfection together!
Key Ingredients for Flaky Gluten Free Pie Crust
Creating a flaky gluten free pie crust is all about choosing the right ingredients that work harmoniously together to deliver that perfect texture and flavor. Each element plays a crucial role, transforming your pie crust into something truly special.
Gluten-Free Flour Blend: A high-quality gluten-free flour blend is the foundation of this recipe. Look for blends that include xanthan gum, as it helps mimic the elasticity of traditional flour. This will ensure your crust holds together and doesn’t crumble.
Cold Butter: Using cold butter is essential for achieving that coveted flakiness. When butter is cut into the flour, it creates little pockets that steam during baking, resulting in a beautifully layered crust.
Ice Water: Adding ice water helps bind the dough without melting the butter. This keeps the crust flaky rather than dense. Start with a few tablespoons and add more as needed until the dough comes together.
Salt: A pinch of salt isn’t just for flavor; it enhances the overall taste of your pie crust. It complements the sweetness of the filling and balances the richness of the butter.
By focusing on these ingredients, you’re well on your way to mastering a flaky gluten free pie crust that will impress at any gathering.
Why You’ll Love This Flaky Gluten Free Pie Crust
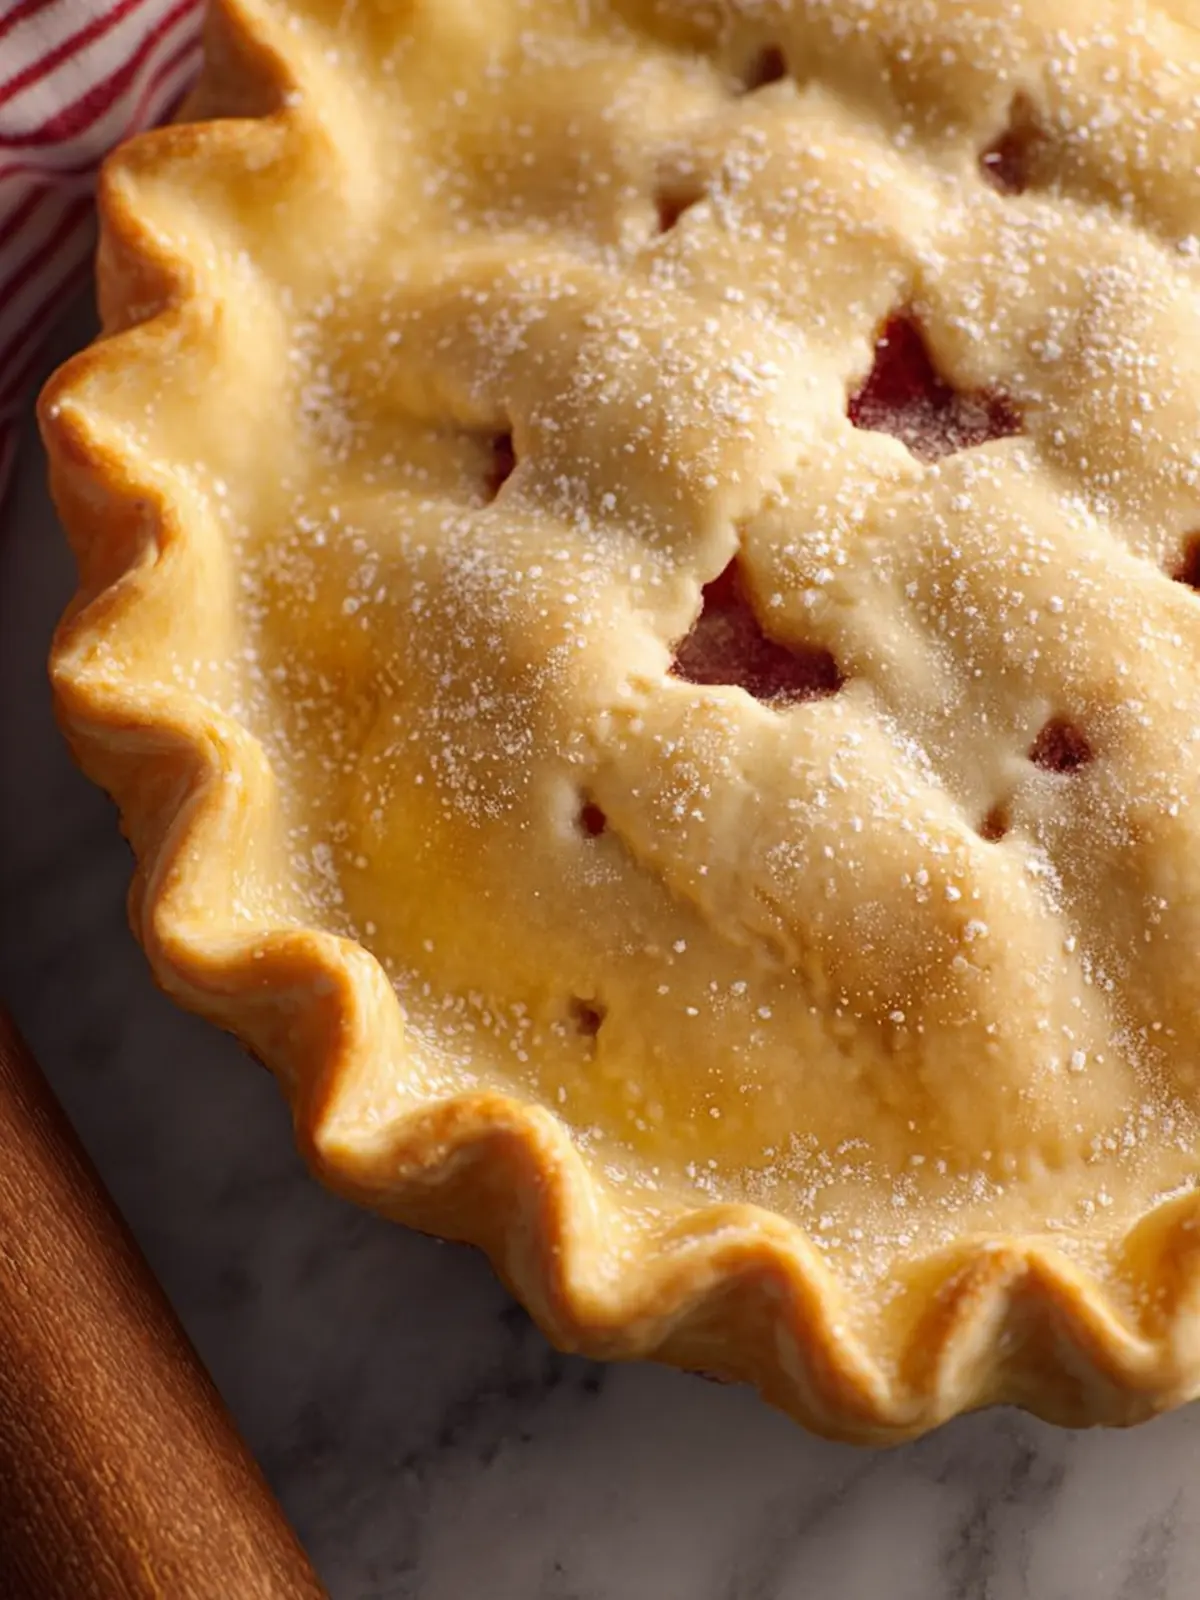
Life is too short for soggy pie crusts, and that’s where this flaky gluten free pie crust shines. Crafted to achieve the perfect balance of buttery richness and tender flakiness, it’s a game-changer for any pie lover, whether you’re hosting a dinner party or just craving a slice for yourself.
Perfect for Sweet and Savory Pies
Imagine whipping up a classic apple pie with ease or embracing the savory goodness of a quiche. This flaky gluten free pie crust accommodates a range of fillings, making it the ideal canvas for both sweet and savory creations. Key benefits include:
- Customizable: Use it for fruit pies, cream pies, or even quiches and pot pies.
- Easy to Handle: The dough is forgiving, allowing you to roll it out without tearing, ensuring a beautiful presentation.
- Fuss-Free Ingredients: With pantry staples, you won’t need to hunt for obscure items.
Plus, the subtle nutty undertone enhances your filling rather than competing with it. With this crust, your culinary journey becomes a delightful one—because who doesn’t want to make incredible pies that everyone can enjoy? Trust me, you’ll be coming back for seconds!
Tips for Making Perfect Flaky Gluten Free Pie Crust
Creating a flaky gluten free pie crust is both an art and a science. With a few insider secrets, you can elevate your pie game to new heights.
Secrets to achieving that delicious flakiness
-
Cold Ingredients Matter: Begin with cold butter and chilled water. This keeps the fat solid until baking, which is essential for creating those coveted flaky layers. I often pop my butter in the freezer for a quick chill before starting.
-
Don’t Overmix: When combining your ingredients, be gentle! Overmixing can lead to a dense crust. A few visible chunks of butter can actually contribute to the flakiness. It may feel a bit counterintuitive, but trust the process.
-
Use the Right Gluten-Free Flour Blend: Not all gluten-free flours are created equal. Look for a blend that includes a combination of rice flour, potato starch, and tapioca flour. This ensures a light texture while also providing the structure needed for your crust.
-
Rest the Dough: Allow your flaky gluten free pie crust to rest after mixing and before rolling. This helps to hydrate the flour and makes the dough easier to work with while relaxing gluten-free substitutes.
-
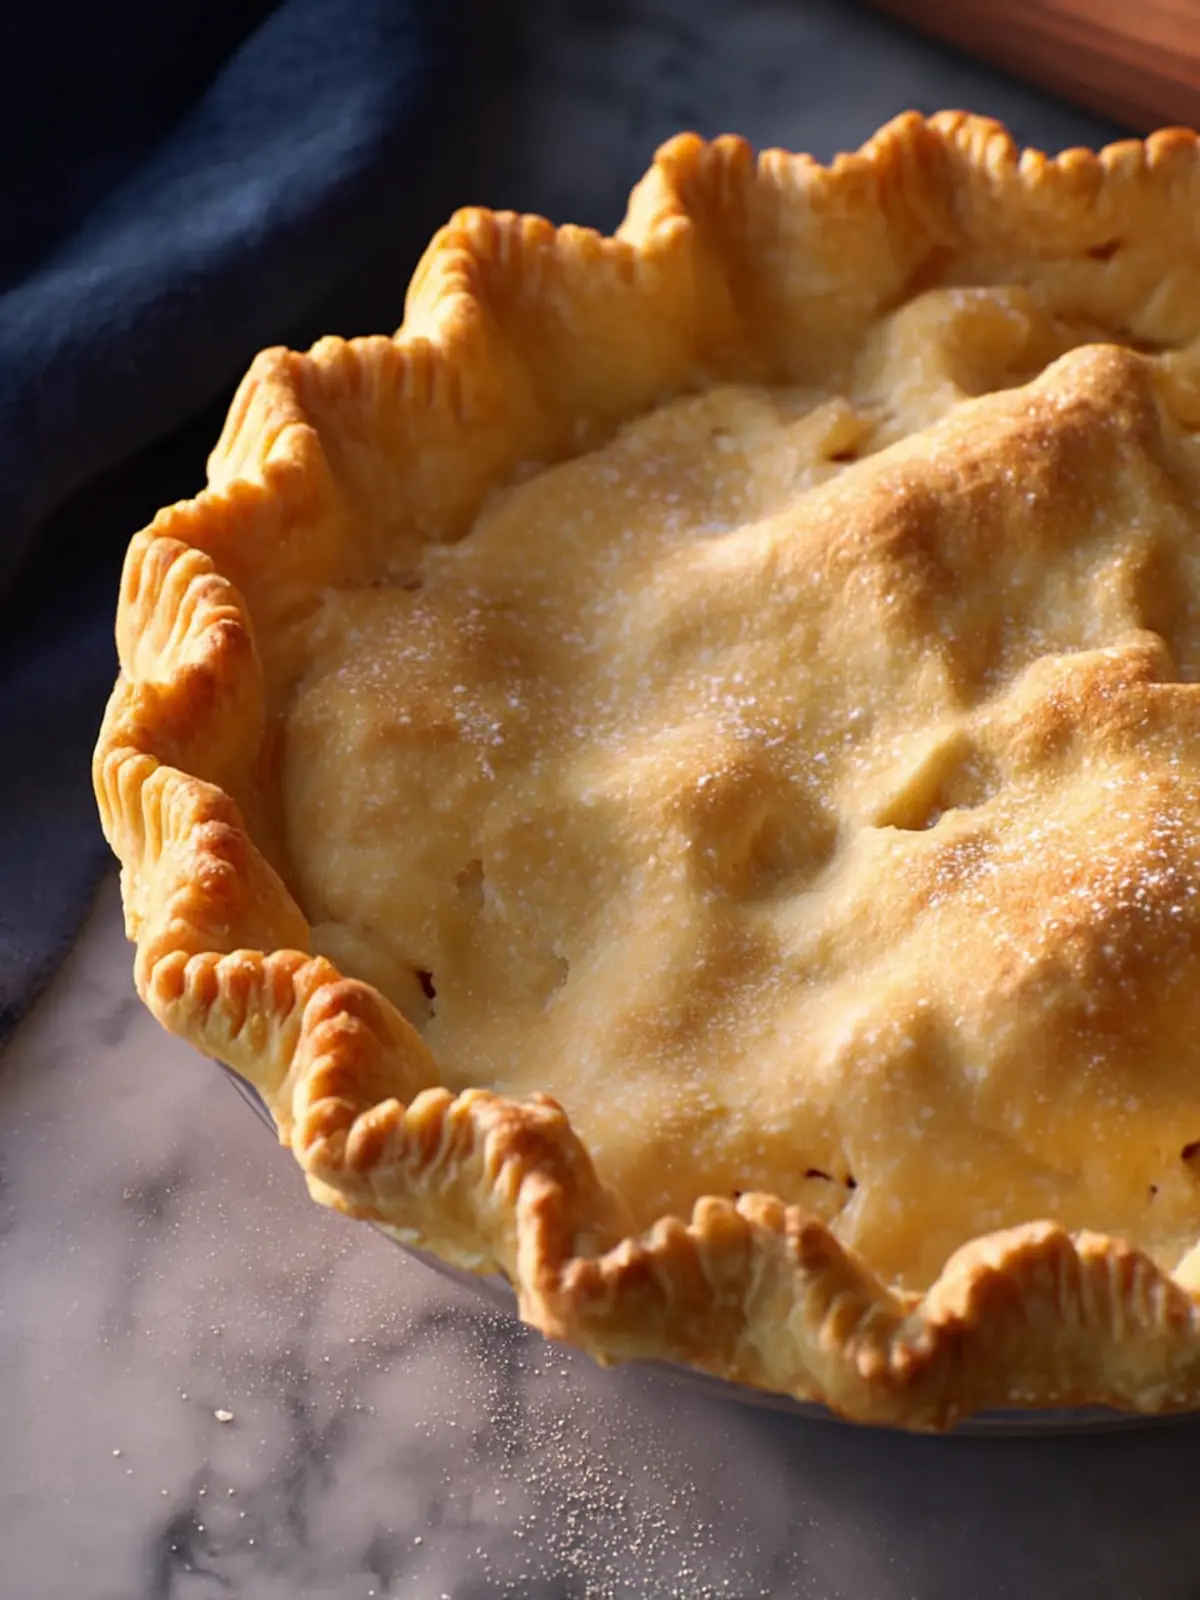
Mind Your Baking Time: Keep an eye on your pie while it’s in the oven. A properly baked crust should be a rich golden brown. If the edges brown too quickly, cover them with foil.
With these tips in your back pocket, you’ll be well on your way to crafting sumptuous pies that will impress everyone at your next gathering. Happy baking!
Time Breakdown for Flaky Gluten Free Pie Crust
Creating the perfect flaky gluten free pie crust is not just about the ingredients; it’s also about the timing! Understanding how long each step takes helps ensure your crust turns out beautifully every time. Here’s a quick time breakdown for the process:
Preparation time
The initial mix and prep of the crust typically takes around 15–20 minutes. During this time, you’ll blend your dry ingredients with cold butter or shortening, then add ice water—ensuring a wonderful flakiness in your crust.
Chilling time
Chilling is crucial! Aim for about 1 hour of resting time in the refrigerator. This helps the dough firm up, making it easier to roll out and ensuring it bakes evenly, preventing shrinkage.
Total time
In total, your flaky gluten free pie crust will require approximately 1 hour and 20 minutes, including preparation and chilling. Easy, right? Enjoy the journey to a delightful pie that’s gluten-free and totally delicious!
Nutritional Information for Flaky Gluten Free Pie Crust
Crafting a flaky gluten free pie crust is not just about flavor; it’s also about understanding the nutrition you’re serving up. This delightful crust balances taste with health, making your pie a thoughtful option for gatherings.
Calories
A typical serving of this flaky gluten free pie crust contains around 160 calories. This makes it a satisfying base for your favorite fillings without overwhelming your meal plan.
Fat
With approximately 8 grams of fat per serving, this crust achieves that coveted flakiness primarily through the use of butter or coconut oil. These fats are essential for achieving that rich, melt-in-your-mouth texture.
Carbohydrates
At about 20 grams of carbohydrates per serving, this flaky gluten free pie crust allows you to enjoy dessert without the gluten. The alternative flours used provide a nuanced flavor while keeping it gluten-free!
Incorporating this nutritional insight allows you to feel good about every bite. Enjoy crafting your next pie!
FAQs about Flaky Gluten Free Pie Crust
Creating a flaky gluten free pie crust can feel like a culinary adventure, full of tips and tricks that make all the difference. Questions often arise, so let’s dive into some frequently asked questions that will help you get the pie crust of your dreams.
Can I freeze this pie crust?
Absolutely! Freezing your flaky gluten free pie crust is a fantastic way to save time. You can prepare the crust in advance, then wrap it tightly in plastic wrap or place it in a freezer-safe bag. It can be frozen for up to three months. When you’re ready to bake, simply thaw it overnight in the refrigerator before rolling it out. You’ll be amazed at how fresh it tastes!
How do I prevent my crust from shrinking?
Shrinking can be a common issue, but don’t worry! Here are some tips to keep your crust intact:
- Chill your dough: Make sure to chill your dough before rolling it out. This firms up the fats, helping to prevent shrinkage.
- Don’t overwork it: While it’s tempting to keep kneading, overly worked dough can also lead to shrinkage. Handle it gently for the best results.
- Use pie weights: If your pie crust has a tendency to puff up, consider using pie weights during baking to keep the edges in place.
What are some common mistakes to avoid?
Every great cook learns from their mistakes. Here are a few to steer clear of when making your flaky gluten free pie crust:
- Ignoring the flour blend: Make sure to choose a high-quality gluten-free flour blend. This can significantly affect your crust’s texture.
- Skipping the chilling step: Chilling your dough is essential for achieving that perfectly flaky crust.
- Neglecting pre-baking: Pre-baking certain crusts can prevent sogginess, especially if you’re filling it with a wet mixture.
By keeping these tips in mind, you’ll be well on your way to mastering the perfect flaky gluten free pie crust that impresses every guest!
Conclusion on Flaky Gluten Free Pie Crust
Embracing homemade goodness, your journey to crafting the perfect flaky gluten free pie crust doesn’t end with your first attempt. Each batch is a chance to develop your skills, refine your technique, and, ultimately, elevate your dessert game. The beauty of this recipe lies in its simplicity and versatility—tailor it to suit your favorite fillings, whether savory or sweet. Remember, the key is in using quality gluten-free flour and proper handling of the dough. With just a little patience and practice, you’ll impress your friends and family with delightful, homemade pies that everyone can enjoy. Happy baking!
Print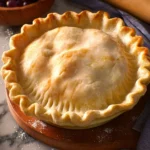
Gluten Free Pie Crust
- Total Time: 35 minutes
- Yield: 1 pie crust 1x
- Diet: Gluten Free
Description
A delicious gluten-free pie crust perfect for any filling.
Ingredients
Scale
- 2 1/2 cups (350 g) gluten free all purpose flour blend (homemade or store bought)
- 1 tablespoon white caster sugar (omit for savoury crusts)
- 1 1/4 teaspoon xanthan gum (omit if your flour blend already contains xanthan)
- 1/2 teaspoon salt
- 1 egg
- 2/3 cup (150 g) cold butter (vegan butter, shortening, palm shortening or coconut oil all work), cut into cubes
- 4–5 tablespoons (60–75 ml) ice cold water
Instructions
- Mix the flour, xanthan, sugar and salt together in a large mixing bowl until well mixed.
- Add the cold butter (or butter sub) and mix together with a fork or pastry cutter. Mix until you have a sandy kind of mixture. Stir in the egg.
- Mix in the water 1 tablespoon at a time. Add water until you form a dough that sticks together in a ball.
- Divide dough in half – each half should weigh about 300 grams. Flatten each half into 1-inch thick discs using your hands.
- Wrap tightly in plastic wrap and refrigerate the dough for at least 20 minutes or up to 5 days.
- Place the dough between two lightly floured sheets of parchment paper and roll out to be 1/8-1/4 of an inch thick.
- Remove the top layer of baking paper. Use the bottom baking paper to transfer your dough to the pie dish. Carefully transfer the rolled out dough to the pie plate. Slip one hand under the bottom layer of parchment paper to gently flip the dough over into the pan.
- Peel back the paper and sooth over any cracks or breaking points in the dough. Use the dough hanging over the edges of the pie dish to cover up the holes in the middle.
- Crimp the edges of the dough as you like. If you need to par bake this pie, use a fork to poke a few holes across the bottom of the dough. This will keep your pie from bubbling in the centre as it bakes.
- Proceed with the pie according to your recipes instructions.
Notes
- Vegan butter, shortening, palm shortening or coconut oil all work for this recipe.
- Prep Time: 15 minutes
- Cook Time: 20 minutes
- Category: Dessert
- Method: Baking
- Cuisine: American
Nutrition
- Serving Size: 1 slice
- Calories: 200
- Sugar: 2g
- Sodium: 150mg
- Fat: 15g
- Saturated Fat: 10g
- Unsaturated Fat: 4g
- Trans Fat: 0g
- Carbohydrates: 20g
- Fiber: 2g
- Protein: 3g
- Cholesterol: 40mg